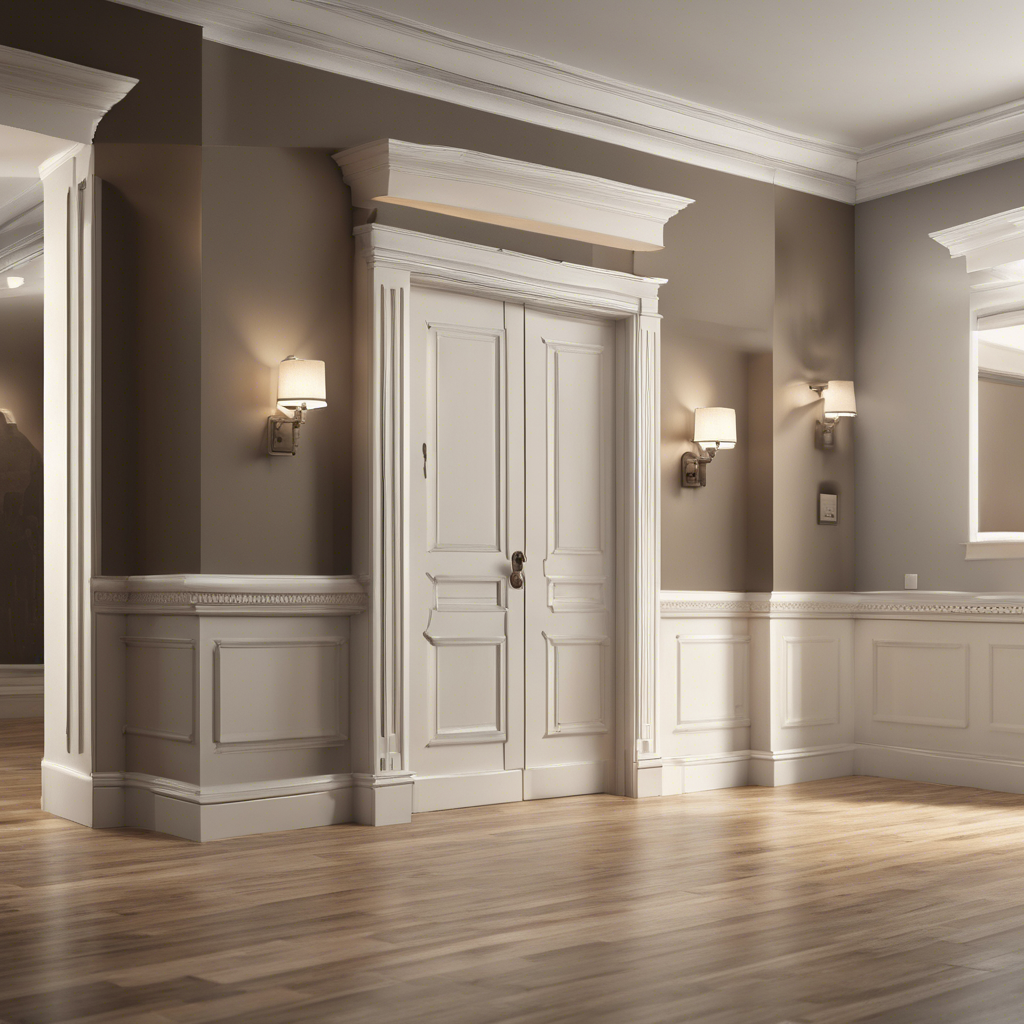
Transforming Ugly Wood Molding into Beautiful White Trim: A How-To Guide
- Southfork Painting Co.
- Aug 12, 2024
- 3 min read

Are you tired of the outdated look of your interior's wood molding? Do you dream of bright, elegant white trim to revitalize your space? Transforming ugly wood molding into beautiful white trim can be a rewarding DIY project that instantly uplifts the aesthetics of your home. In this comprehensive guide, we will walk you through the steps to achieve this stunning transformation with ease and precision.
Step 1: Preparation and Planning
Before diving into the transformation process, it's crucial to prepare adequately. Start by gathering the necessary tools and materials. You will need white trim paint, a high-quality primer, sandpaper, painter's tape, a putty knife, and a paintbrush. Ensure that the wood molding is clean and free of any existing paint or debris before beginning.
Step 2: Surface Preparation
To ensure a smooth and flawless finish, it's essential to prepare the surface properly. Begin by sanding the wood molding to remove any imperfections or rough edges. Use a medium-grit sandpaper to achieve a clean and even surface. Once sanded, wipe down the molding with a damp cloth to remove any dust or particles.
Step 3: Priming the Surface
Priming the wood molding is a crucial step that enhances paint adhesion and promotes a professional finish. Apply a coat of high-quality primer evenly across the surface using a paintbrush. Allow the primer to dry completely according to the manufacturer's instructions before proceeding to the next step.
Step 4: Painting the Trim
Now comes the exciting part – painting the trim! Using a paintbrush, carefully apply the white trim paint to the primed wood molding. Work in smooth, even strokes to ensure full coverage and a uniform finish. For intricate details or tight corners, use a smaller brush or painter's tape to achieve precision.
Step 5: Finishing Touches
Once the first coat of paint has dried, assess the results and apply a second coat if necessary for a more opaque finish. Take your time to ensure that every inch of the wood molding is evenly painted and free of imperfections. Remove any painter's tape carefully to reveal clean edges and crisp lines.
Step 6: Final Inspection and Clean-Up
After the paint has dried completely, inspect the white trim for any touch-ups or areas that may need additional attention. Once satisfied with the results, clean up your workspace by properly storing tools and disposing of any waste. Step back and admire the stunning transformation you have accomplished.
Conclusion
Transforming ugly wood molding into beautiful white trim is a rewarding DIY project that can instantly elevate the look of your home. By following these steps diligently and with attention to detail, you can achieve a professional-quality finish that adds elegance and charm to your interior spaces. Embrace the beauty of white trim and unleash your creativity to transform your living environment effortlessly.
Embark on this journey of home improvement and experience the satisfaction of revitalizing your space with stunning white trim. Let your creativity shine, and enjoy the transformation that will leave your guests in awe. Embrace the elegance of white trim and elevate the aesthetics of your home today!
Remember, patience and precision are key when undertaking this project. Take your time, enjoy the process, and watch as your home's interior is transformed before your eyes.
So, what are you waiting for? Dive into this exciting DIY project and witness the magic of transforming ugly wood molding into beautiful white trim!
Or call Southfork Painting Co. to tackle this time-consuming project. Call us today at 410-897-7151. House painters in the Crownsville, Annapolis, Crofton, Odenton and surrounding Maryland areas.


Comments